http://deepliquid.com/content/Jcrop.html 使用方式
<link rel="stylesheet" type="text/css" href="jquery.Jcrop.css" />
<script type="text/javascript" src="jquery-1.3.1-min.js"></script>
<script type="text/javascript" src="jquery.Jcrop.min.js"></script>
基本的範例
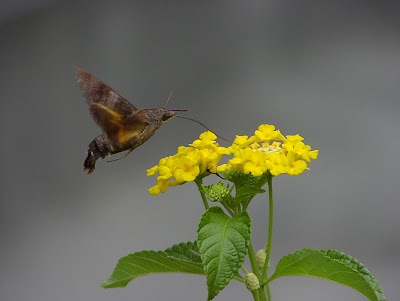
<img src="P1010536.JPG" id="jcrop_target" />
接著透過 jQuery 將這個元素選起來後,套用 Jcrop() 即可
$('#jcrop_target').Jcrop();
以下是套用 Jcrop() 後的範例,可以直接在圖片上拖曳進行範圍的框選取得選取範圍
function showCoords(c) {
  //這邊取得的 c 就是座標相關資料,包含:
  //c.x  --> 左上角的 x
  //c.y  --> 左上角的 y
  //c.x2 --> 右下角的 x
  //c.y2 --> 右下角的 y
  //c.w  --> 選取範圍的寬度
  //c.h  --> 選取範圍的高度
};
套用 Jcrop 時改帶入一個參數,指定這個 callback 的函數
$('#jcrop_target2').Jcrop({
  onChange: showCoords,
  onSelect: showCoords
});
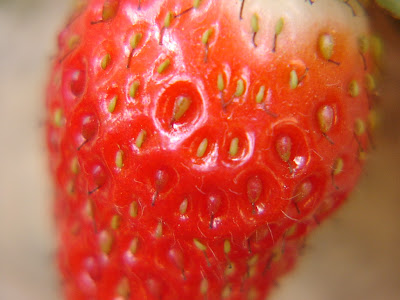
以下是取得框選範圍的範例:X1 Y1 X2 Y2 W H 後端切圖 http://deepliquid.com/content/Jcrop_Implementation_Theory.html
<?php

$targ_w = $targ_h = 150;
$jpeg_quality = 90;

$src = 'demo_files/flowers.jpg';
$img_r = imagecreatefromjpeg($src);
$dst_r = ImageCreateTrueColor( $targ_w, $targ_h );

imagecopyresampled($dst_r,$img_r,0,0,$_POST['x'],$_POST['y'],
    $targ_w,$targ_h,$_POST['w'],$_POST['h']);

header('Content-type: image/jpeg');
imagejpeg($dst_r, null, $jpeg_quality);

?>
如果要把圖存檔,可以修改為下面這段:
// 把這一行 remark 起來
// header('Content-type: image/jpeg');

imagejpeg($dst_r, $output_filename, $jpeg_quality); //存檔,記得給正確的檔名


 發表於 2009-2-7 11:52
|
發表於 2009-2-7 11:52
|